
Short on time but still want to give a heartfelt gift? Try a handmade embroidered bookmark! It’s personal, practical, and surprisingly simple—even if you’re just starting out.
In this tutorial, I’ll walk you through the steps to create a charming bookmark that feels meaningful without being overwhelming. Let’s get started!
As an Amazon Associate, I earn from qualifying purchases.
Step 1: Choose Your Pattern
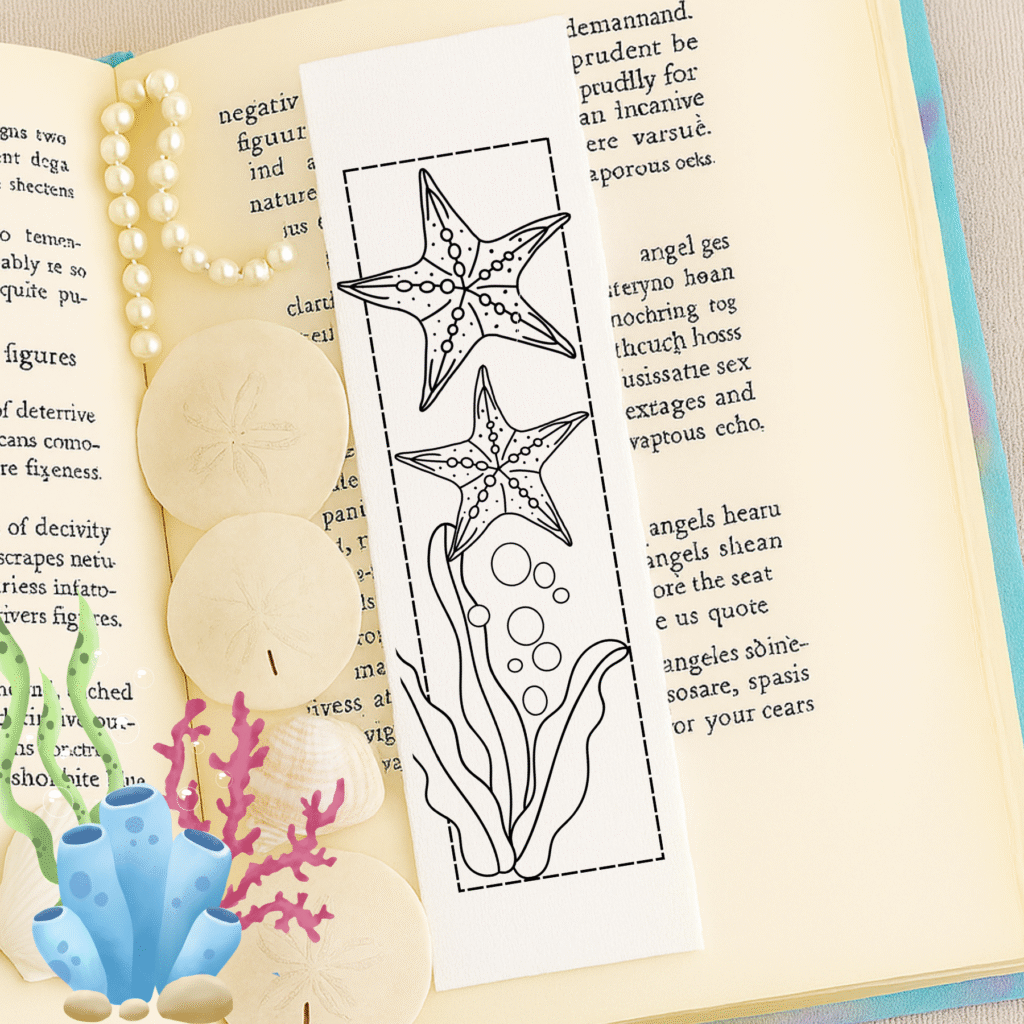
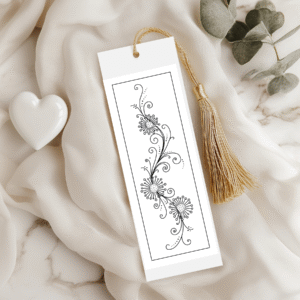
Pick a design that speaks to you. The above pattern is located here: Etsy, or feel free to grab one you already love.
Step 2: Prep Your Fabric
- Trace your pattern onto white fabric. Stiffer fabric works best for bookmarks, but don’t worry—if yours is soft, I’ll share tips to firm it up later.
- Use a piece that’s at least 10×10 inches. This gives you enough room to hoop your fabric securely while stitching and leaves extra for trimming later.
Step 3: Stitch and Wash
Embroider your design, then give it a gentle wash to remove markings and freshen it up.
Step 4: Gather Finishing Materials
Here’s what you’ll need to complete your bookmark:
- Extra fabric (I use the leftover from the 10×10 square)
- A piece of plastic for structure—like this kind
- Ribbon, if you’d like to add a decorative touch
Step 5: Assemble Your Bookmark
You can sew it by machine or by hand—whichever suits your style!
Machine Method:
- Place fabric pieces right sides together
- Stitch around the edges, leaving a small opening
- Turn it right side out and hand-sew the opening closed
Hand-Sewing Option:
- Either follow the machine method by hand
- Or sandwich the layers and stitch around the edges using a decorative stitch like zig-zag or blanket stitch
That’s it! You’ve created a thoughtful, handmade gift that’s both beautiful and useful. Whether it’s tucked into a book or gifted with a note, your embroidered bookmark is sure to be cherished.
1 thought on “How To Make An Embroidered Bookmark”
Comments are closed.