
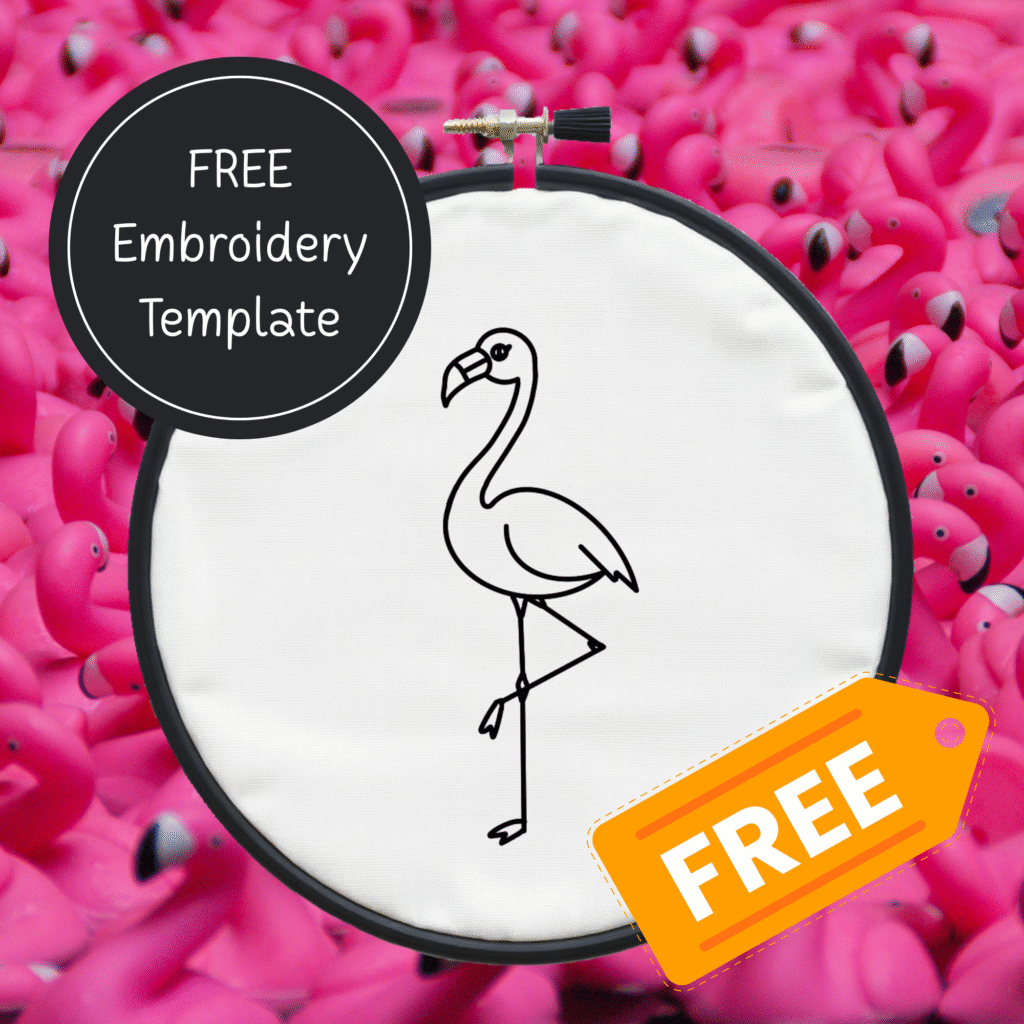
Add a pop of tropical charm to your hoop art collection with this free pink flamingo hand embroidery template! Designed with simplicity in mind, this line-drawn flamingo is perfect for beginners and seasoned stitchers alike. Whether you’re looking to brighten your stitching corner or craft a thoughtful gift, this pattern brings just the right splash of summer sass.
Why You’ll Love This Flamingo Embroidery Pattern
- Beginner-Friendly: Simple lines and a single stitch technique make this an ideal starter project.
- Quick & Relaxing: A satisfying finish in just one cozy afternoon.
- Versatile Display: Perfect for wall hoops, tote bags, or sunny tea towels.
Stitching Details
Stitch Used: The entire design uses back stitch, making it a low-fuss project that still looks polished. Use 2 strands of floss for clean, even lines.
Recommended DMC Color Palette
To bring your flamingo to life, use shades that celebrate its signature pink glow:
- DMC 899 – Rose Medium: For the main body.
- DMC 3716 – Dusty Rose Light: For inner details and leg accents.
- DMC 310 – Black: For the beak and eye.
Feel free to play with texture by using a mix of 1 or 2 strands in different sections.
Download your pattern here:
Here’s how to get the pink flamingo pattern: enter your email address in the form below. You’ll be subscribed to my awesome weekly newsletter and be the first to know when a new pattern is available. The welcome email you receive will contain the password to open this pattern and all the other patterns on this site.
Tips for Beginners:
- Practice your stitches on a scrap piece of fabric before starting your project.
- Don’t pull your thread too tightly to avoid puckering the fabric.
- Have fun experimenting with colors and stitches—make your flamingo as vibrant and unique as you like!
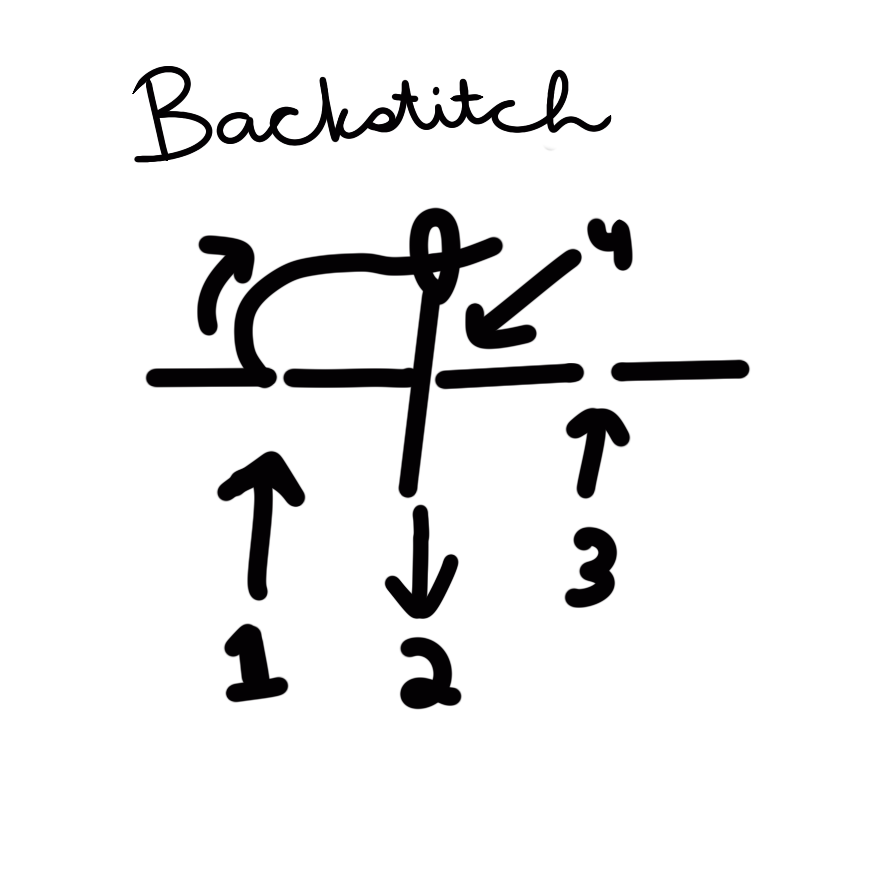
Beginner’s Guide: How to Back Stitch
Back stitch is perfect for outlining your books or adding a quote to the design. Here’s how to do it:
- Bring your needle up through the fabric at point 1.
- Insert it down at point 2 (about 1/8 to 1/4 inch away, depending on your preference).
- Now bring the needle back up at point 3, a stitch length forward from 2.
- Insert it back into point 2—this “backs up” your stitch to connect with the previous one.
- Continue this pattern, always stitching back into the previous hole for a clean, continuous line.
Tip: Use 2 strands for finer lines or 3 for extra emphasis.
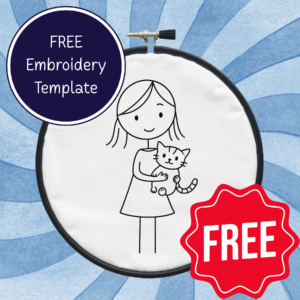
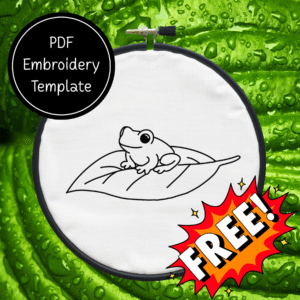
If you are looking for some other free patterns to practice backstitching, why not try:
Or you can try my Etsy Store, where I have over 250 patterns available.


1 thought on “Free Pink Flamingo Hand Embroidery Pattern for Summer Stitching”
Comments are closed.