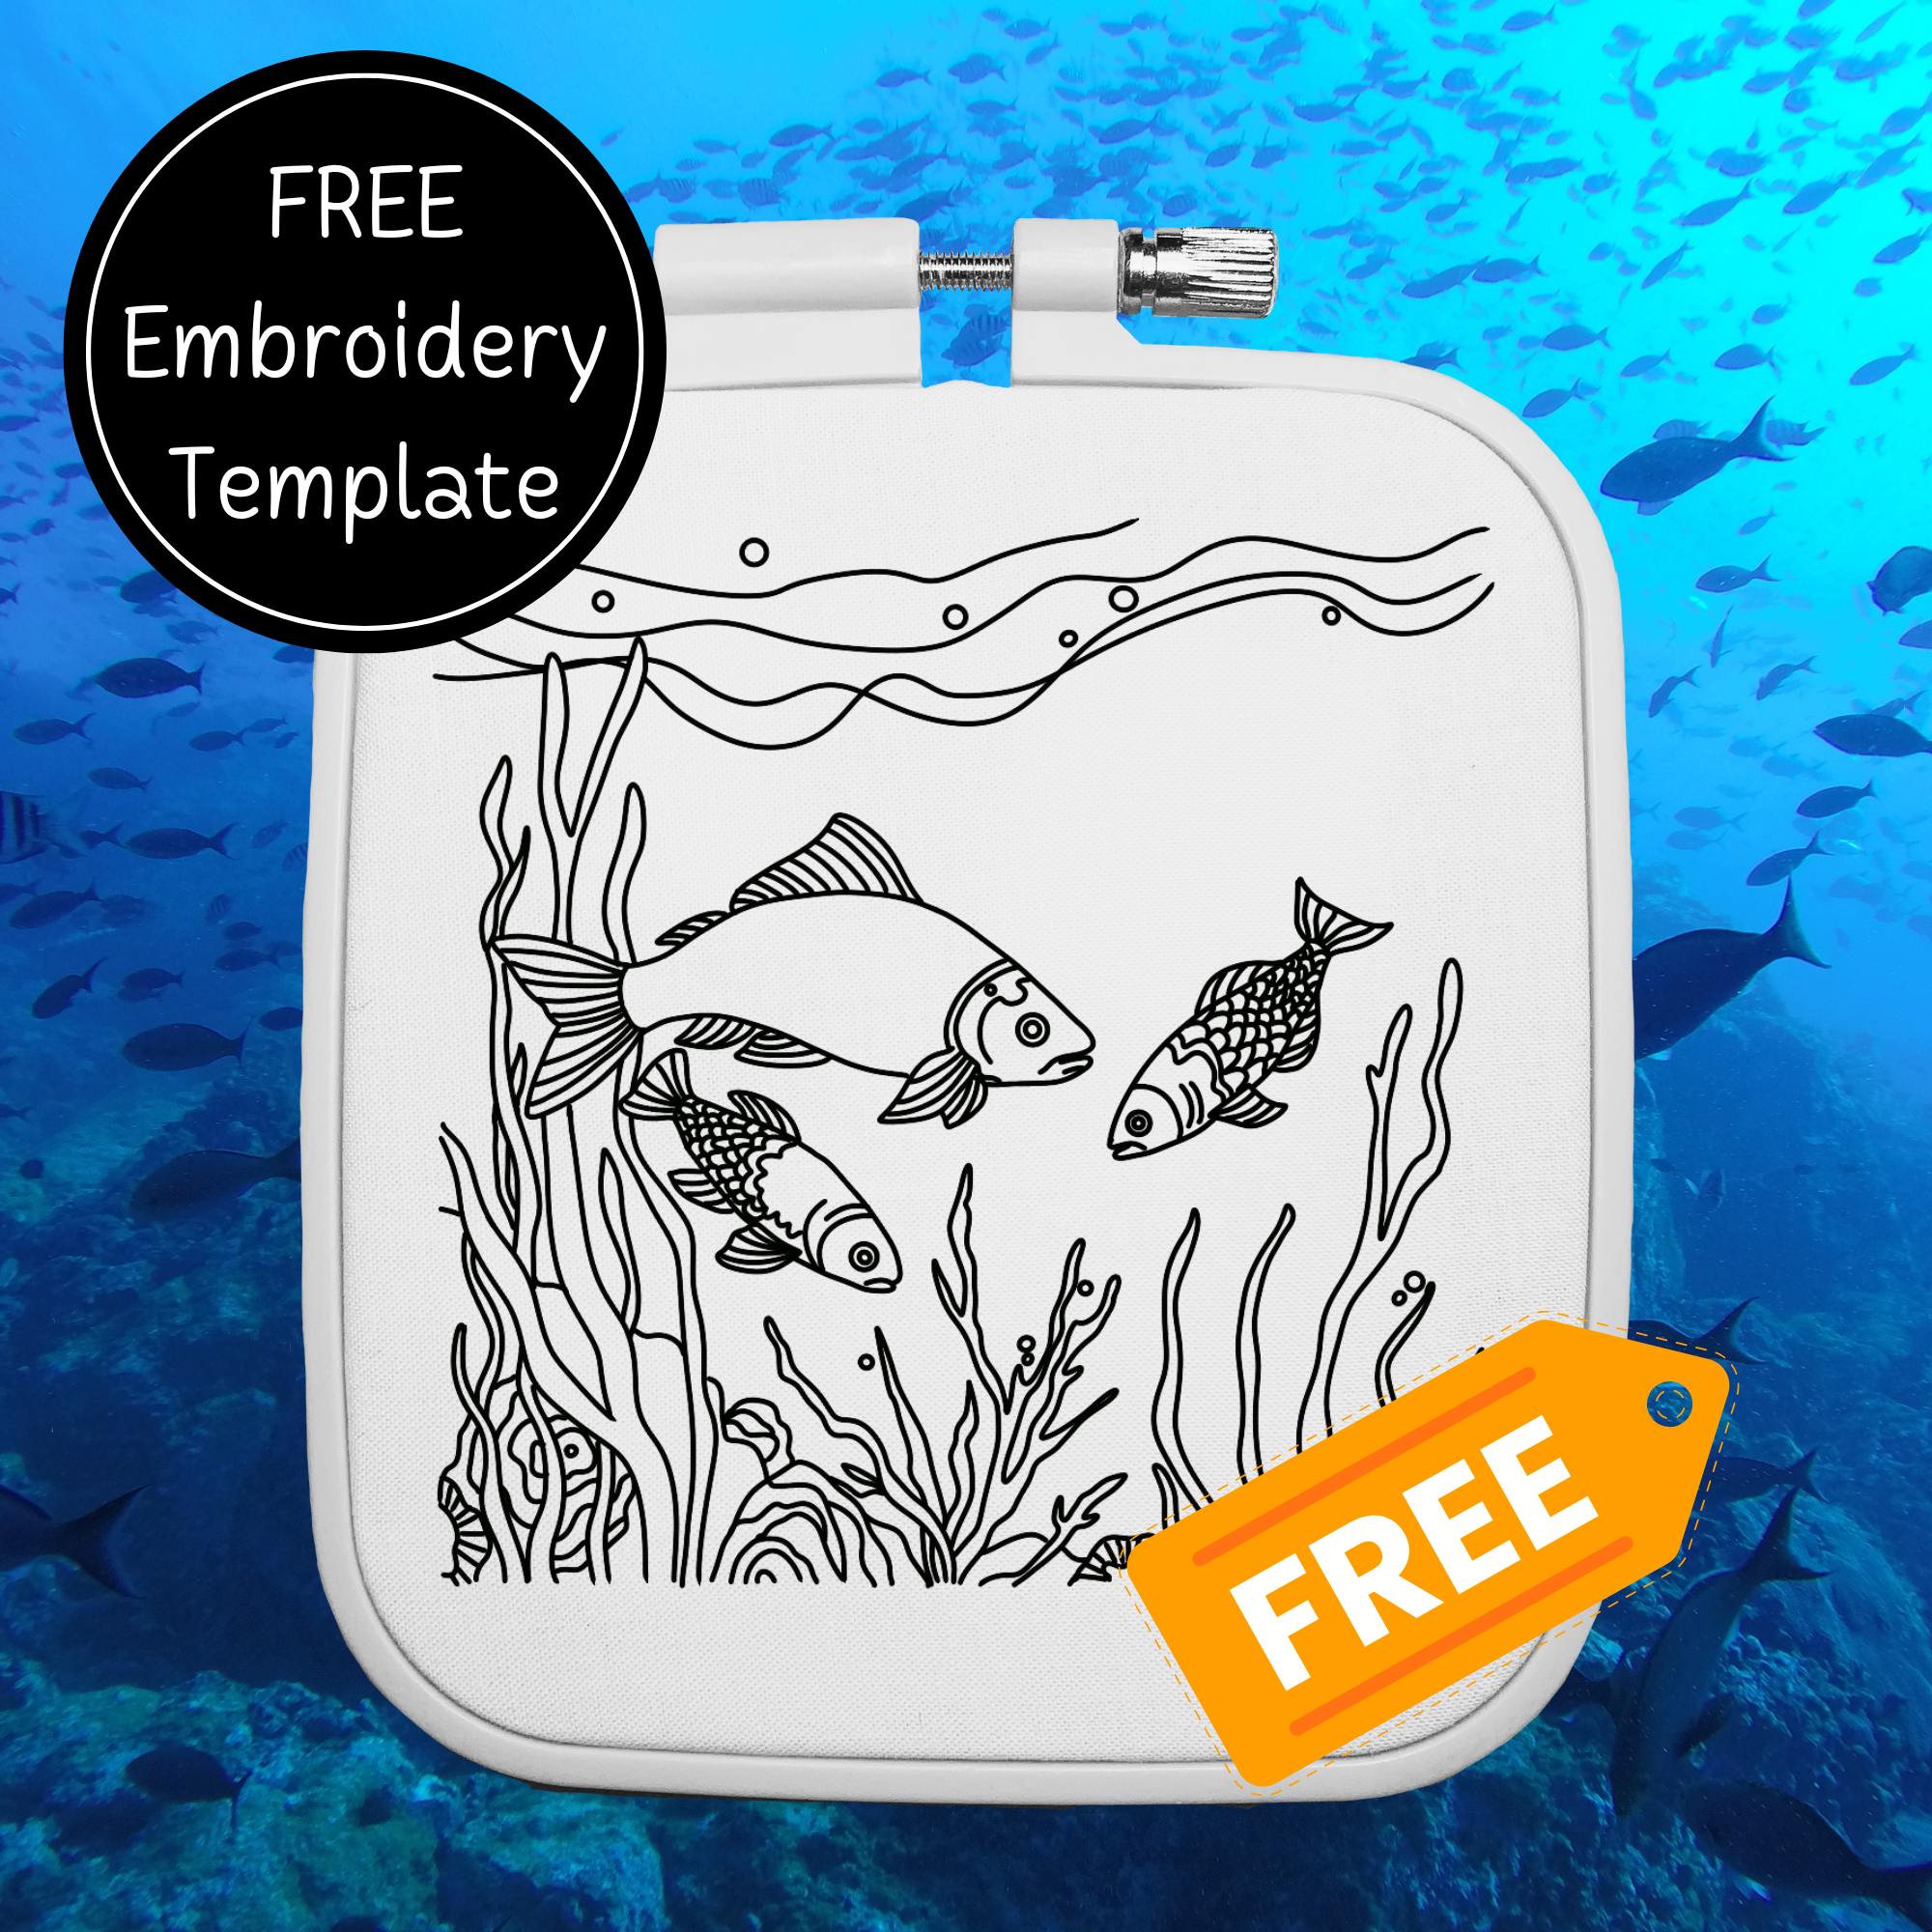
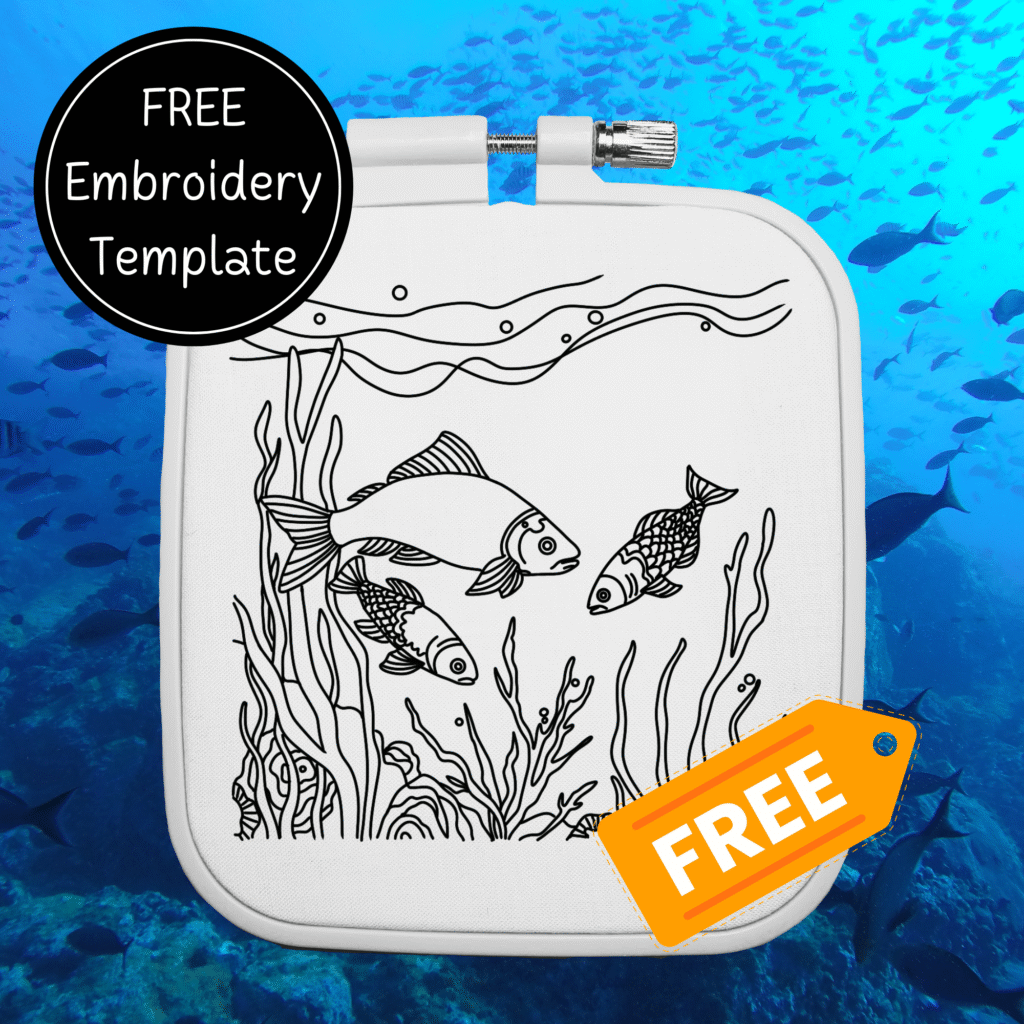
Are you ready to make a splash with your embroidery skills? This free tropical fish embroidery pattern brings an enchanting underwater scene to life, featuring three beautifully detailed fish swimming amidst seaweed and coral. Whether you’re a beginner seeking a fun challenge or an experienced stitcher looking to brighten up your next project, this pattern is sure to captivate your creative spirit.
“As an Amazon Associate, I earn from qualifying purchases.”
What You’ll Need:
Before you begin, gather these supplies:
- Fabric: A piece of light-colored cotton or linen works best.
- Embroidery Hoop: A 6-inch hoop is a good size for this project.
- Embroidery Needle: A size 7 or 8 needle is ideal.
- DMC Floss Colors (suggestions below)
- Scissors: Small, sharp embroidery scissors for cutting thread.
- Water-Soluble Fabric Marker: To transfer the pattern onto fabric.
DMC Floss Color Recommendations
To truly highlight the vibrancy of the ocean, use these suggested DMC floss colors:
- Large Fish:
- Middle Fish:
- Small Fish:
- Seaweed & Coral:
Embroidery Pattern & Basic Instructions
For this project, you can easily find free jellyfish embroidery patterns online. Look for one with flowing tentacles and a simple circular body to make it beginner-friendly.
- Transfer the Pattern: Print the design and place it under your fabric. Use a lightbox (or tape it to a window) to trace the fish outline onto your fabric with a water-soluble marker.
- Setting Up the Hoop: Center the design in your embroidery hoop and tighten it so the fabric is taut but not stretched too tightly.
- Thread Your Needle: Cut an 18-inch piece of embroidery floss. For a fine look, use two or three strands of floss at a time.
- Stitches to Use:
- Backstitch: For outlining the jellyfish’s body.
- Satin Stitch: To fill in the body.
- Split Stitch: Adds texture to the tentacles.
- French Knots: Create small, bubbly details around the jellyfish for an underwater effect.
- Start Stitching: Work slowly and take your time with each stitch. Embroidery is about patience and enjoying the process. Start with the body, filling it in with the satin stitch and shading with your medium blue floss. Then, use the backstitch for tentacle outlines and experiment with split stitches and French knots to bring the design to life.
- Finishing Touches: Once your fish is complete, rinse the fabric with water to remove any remaining pattern markings. Let it dry, and voila, your masterpiece is ready!
Tips for Beginners:
- Practice your stitches on a scrap piece of fabric before starting your project.
- Don’t pull your thread too tightly to avoid puckering the fabric.
- Have fun experimenting with colors and stitches—make your jellyfish as vibrant and unique as you like!
Here’s how to get the fish pattern: enter your email address in the form below. You’ll be subscribed to my awesome weekly newsletter and be the first to know when a new pattern is available. The welcome email you receive will contain the password to open this pattern and all the other patterns on this site.
Once you have the password, save it to your phone or computer, and enter it below to open up the PDF.
Related patterns to also consider stitching: