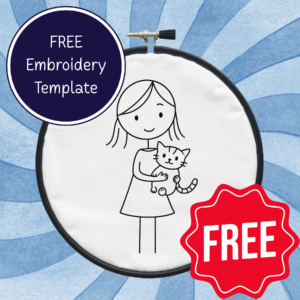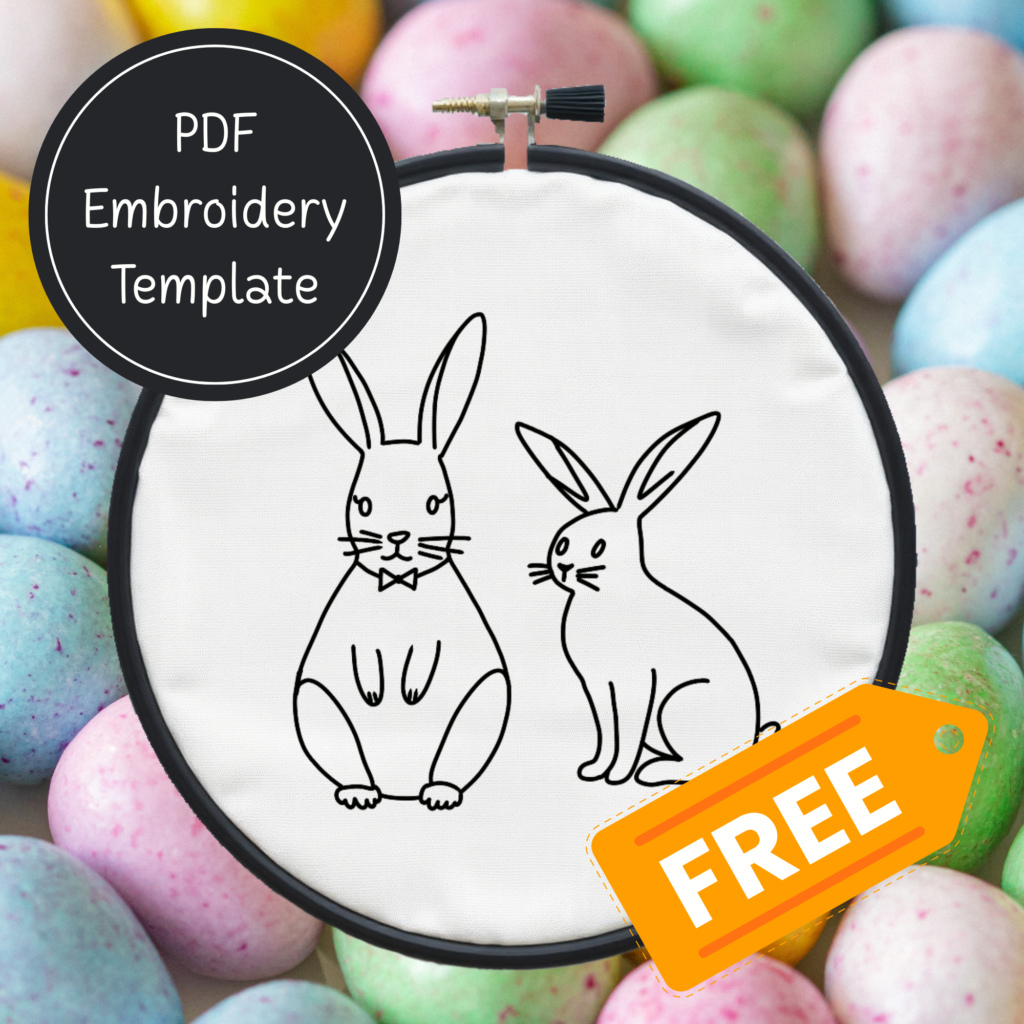
Spring has arrived, bringing with it blooming flowers, pastel colors, and, of course, adorable Easter bunnies! To celebrate, I’m giving away two Easter bunny hand embroidery patterns—perfect for adding a touch of whimsy to tea towels, clothing, or framed decor.
Whether you’re new to embroidery or a seasoned stitcher, these patterns are a delight to work on. To get you started, I’ve included suggested thread colors, a basic supply list, and easy-to-follow beginner instructions to help bring these sweet bunnies to life. Let’s hop into it!
Before you get started, you’ll need the password to the pattern. You can only get the password needed to unlock the PDF file by subscribing to my email list. You can subscribe below.
“As an Amazon Associate, I earn from qualifying purchases.”
Suggested DMC Thread Colors:
Bunny Fur: DMC 762 (Light Gray) or DMC 3865 (Soft White)
Ears & Nose: DMC 3713 (Salmon Pink) or DMC 760 (Light Rose)
Eyes: DMC 3371 (Black Brown)
Floral Details: DMC 523 (Muted Green) and DMC 3833 (Rose Violet)
Feel free to customize with colors that match your personal style or fabric choice!
Basic Embroidery Supplies
Before you start stitching, gather these embroidery essentials:
- Embroidery hoop (6-inch size works well)
- Embroidery floss (DMC colors listed above)
- Embroidery needle (size 5-7)
- Fabric (cotton or linen for best results)
- Scissors (sharp embroidery scissors)
- Water-soluble or heat-transfer pen (for pattern tracing)
- Pattern (download your free Easter bunny patterns at the bottom of the page)
Simple Beginner Instructions
If you’re new to embroidery, don’t worry! These basic stitches will help you bring your bunnies to life:
- Transfer Your Pattern: Use a heat-transfer pen or water-soluble marker to trace your bunny design onto fabric.
- Secure Your Fabric: Place your fabric in an embroidery hoop, making sure it’s taut but not stretched too tightly.
- Start Stitching: Use backstitch for outlining, satin stitch to fill in areas, and French knots for little details like bunny eyes or floral accents.
- Take Your Time: Embroidery is a relaxing craft, so go at your own pace and enjoy the process.
- Finish & Display: Once your bunny is embroidered, remove fabric from the hoop, iron out any wrinkles, and frame or stitch onto a project of your choice.
Download your pattern by entering in the password that you got when you subscribed to my email.
I hope you love these Easter bunny embroidery patterns as much as I do! Be sure to share your finished pieces—I’d love to see your creative interpretations. If you’re on Instagram, tag me in your photos #NanaBumblebee_Embroidery @NanaBumblebee and friend me as well. I’d love to see your creations.
Happy Stitching!